Good print campaign planning can prevent many of the file problems that show up right before a deadline. If you’ve ever had a brochure rejected for missing bleed, a postcard delayed because images were too low-resolution, or a flyer proof come back with unexpected color shifts, you already know how stressful those final days can be.
Most last-minute print issues don’t happen because a team is careless. They happen because specs weren’t confirmed early, files passed through too many hands, or someone assumed that a design made for digital use would work for print without adjustment.
The good news is that a simple planning process can make print campaigns much smoother. Whether you’re ordering postcards, sales sheets, catalogs, event materials, direct mail, signage, or branded handouts, the steps below will help your team prepare better files, ask better questions, and request more accurate quotes.
Print campaign planning starts before design
Print projects are easiest when the printer, designer, and marketing team are working from the same expectations. That should happen before the design file is built, not after the final layout is approved.
Start by defining the basics of the campaign. What is the piece supposed to do? Who will receive it? How will it be distributed? Will it be mailed, handed out, inserted into folders, displayed at an event, or shipped to multiple locations?
Those answers affect size, paper, folds, coatings, mailing requirements, packaging, and finishing. A postcard for direct mail may need different setup considerations than a rack card, booklet, or trade show handout. If you wait until the end to answer those questions, your designer may need to rebuild parts of the file.
Build a timeline that leaves room for proofing
A rushed file is more likely to have problems. Marketing teams often plan around the date materials are needed, but the better question is: when does the print shop need approved, production-ready files?
Turnaround can vary based on quantity, paper availability, finishing, mailing services, bindery work, and current production schedules. Before setting your internal deadline, ask your print shop what they need for the specific project.
A practical print timeline should include time for:
- Final copy review and approval
- Design layout and internal review
- Print file preparation
- Printer file check or preflight review
- Proofing and corrections
- Production and finishing
- Shipping, delivery, pickup, or mailing
If multiple stakeholders need to approve the piece, add extra review time. A one-day delay in approving a proof can affect the rest of the schedule, especially when folding, binding, custom finishing, or mailing is involved.
Give designers complete print specs early
Designers can do their best work when they know the production requirements from the start. Before design begins, gather the print specs your team already knows and confirm anything that’s uncertain with the printer.
Helpful details include:
- Final flat size and finished size
- Number of pages or panels
- Fold type, if applicable
- Quantity needed
- Single-sided or double-sided printing
- Paper type or desired feel
- Coating or lamination preferences
- Binding, drilling, scoring, perforation, or other finishing needs
- Mailing or variable data requirements
- Delivery, pickup, or distribution details
Some specs depend on the equipment, paper, and production method being used, so it’s smart to confirm requirements before production. For example, bleed size, safety margins, fold panel adjustments, and acceptable file formats can vary by project and print provider.
Common file issues that slow down production
Many print delays come from the same handful of problems. Knowing what to check before submitting files can save time and reduce back-and-forth emails.
Missing bleed or unsafe margins
Bleed is extra artwork that extends beyond the final trim edge. It helps prevent thin white edges after cutting. If a background color, image, or design element reaches the edge of the piece, it usually needs bleed.
Safe margin is the area inside the trim where important text and logos should stay. If content sits too close to the edge, it may look crowded or risk being trimmed. Ask your printer what bleed and safe area they recommend for your project.
Low-resolution images
Images pulled from websites, social media, or email signatures are often too small for quality printing. They may look fine on a screen but appear soft, pixelated, or blurry in print.
Use original high-quality images whenever possible. If your layout includes product photos, staff portraits, charts, maps, or sponsor logos, check them early. Replacing a poor image at the last minute can be difficult if the original file isn’t available.
Missing fonts or linked files
Design files can reference fonts and linked images that aren’t actually embedded in the file. If the printer opens the file without those assets, text may reflow or images may be missing.
For most print orders, a properly exported print-ready PDF is preferred, but requirements can vary. If native files are requested, package the file with fonts, links, and supporting assets as instructed by the printer.
Color expectations based only on screens
Color can look different from one monitor to another, and printed color may not match what someone sees on a laptop or phone. Paper choice, coating, ink coverage, and print method can all affect the final appearance.
If brand color is critical, talk with your print shop before production. They can explain proofing options and file setup considerations. It’s better to discuss color expectations early than to assume a screen preview will be exact.
Unapproved copy changes after proofing
Last-minute copy edits are common, but they can create new layout problems. A longer headline may affect line breaks. A new disclaimer may push content too close to the trim. A revised QR code may need to be checked again.
Try to approve the final copy before design is finalized. If changes happen after the proof, review the full piece again rather than only checking the changed sentence.
Use a clear proofing process
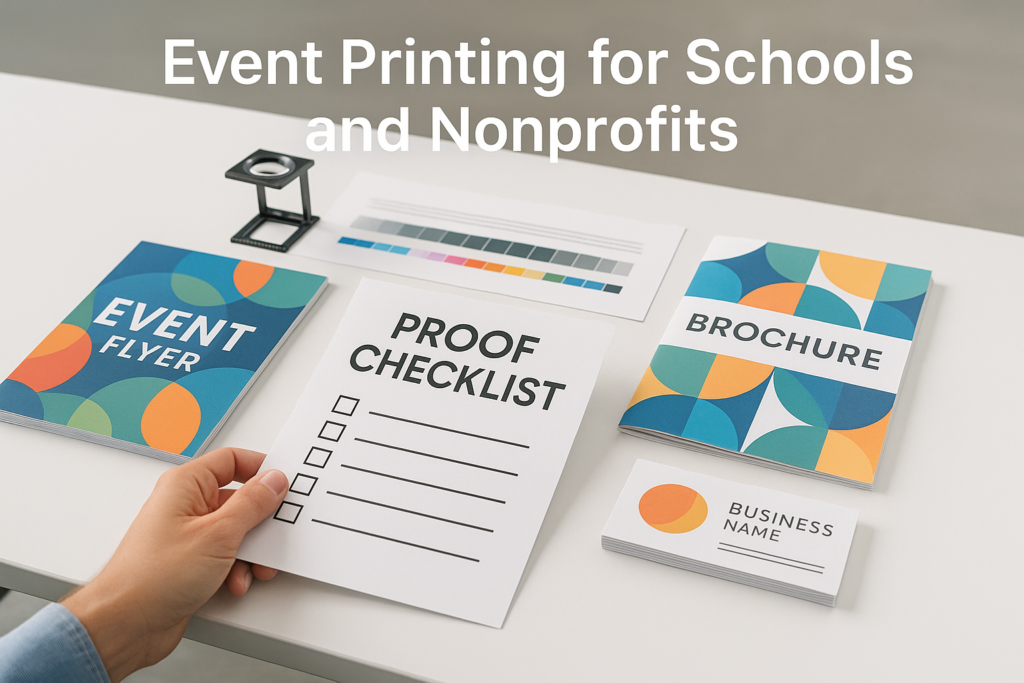
Proofing is not just a formality. It’s the final chance to catch issues before production. Assign one person to collect feedback, resolve conflicting edits, and give final approval.
During proofing, check more than spelling. Review names, phone numbers, addresses, URLs, QR codes, dates, prices, offer details, legal copy, logos, page order, folds, and panel orientation.
If the piece will be folded, mailed, or bound, ask yourself how the reader will physically interact with it. Is the address panel correct? Will the cover be on the right side? Are inside panels in the correct order? These are easy details to miss when reviewing a flat PDF on screen.
Plan for mailing, variable data, and multi-piece campaigns
Direct mail and variable data projects need extra coordination. Mailing lists, address placement, indicia, postal requirements, personalization fields, and data formatting can all affect the design and production process.
If you’re printing a campaign with multiple versions, such as different offers by region or personalized letters, decide how files will be named and organized. Clear file names help avoid confusion when several versions look similar.
For multi-piece campaigns, make sure every component is planned together. A brochure, insert, envelope, letter, and reply card may each have different specs, but they still need to work as one campaign.
Think through paper and finishing before the quote
Paper and finishing choices affect the look, feel, durability, and production path of a print project. They can also affect how accurately a printer can quote the job.
Before requesting a quote, think about how the piece will be used. A handout for a sales meeting may need a different paper feel than a mailed postcard or a menu that will be handled often. A booklet may need binding. A presentation piece may need scoring, folding, or a coating.
You don’t need to know every paper specification before calling a print shop. It’s enough to explain the purpose, audience, quantity, and desired impression. The printer can suggest options and let you know what details need to be confirmed before production.
When to ask your print shop for help
If you’re unsure about file setup, ask before final design approval. Print shops would much rather answer questions early than troubleshoot a file after the deadline is tight.
Reach out when you’re planning an unusual size, fold, die cut, booklet, mailing piece, large-format graphic, or campaign with multiple versions. You should also ask for guidance if brand color, image quality, paper feel, or finishing is especially important.
A quick conversation can help your team avoid redesign work and get a more accurate quote. It also helps the printer understand the full scope of the project, not just the file attached to an email.
A simple print campaign planning checklist
- Confirm the campaign goal, audience, and distribution method.
- Request print specs before design starts.
- Build a timeline that includes proofing and approvals.
- Use high-quality images and original logo files.
- Set up bleed, trim, and safe margins based on printer guidance.
- Check folds, panels, page order, and mailing areas.
- Export a print-ready PDF or provide packaged files as requested.
- Review proofs carefully and assign one final approver.
- Confirm paper, finishing, quantity, delivery, and mailing details.
- Ask questions early if anything is unclear.
Conclusion: Better planning leads to smoother print projects
Print campaign planning doesn’t have to be complicated. The main goal is to make important production decisions before the deadline is close, so your team isn’t fixing files under pressure.
When you confirm specs early, prepare print-ready files, allow time for proofing, and involve your print shop before production, you reduce the chance of delays and surprises. If you’re planning a brochure, postcard, mailer, booklet, sign, or full marketing campaign, reach out for a quote and share what you know so far. A good print partner can help you fill in the details before the project gets stressful.
FAQ
What is a print-ready file?
A print-ready file is prepared according to the printer’s production requirements. It often includes correct size, bleed, margins, images, fonts, color setup, and export settings, but exact requirements can vary by project and print shop.
When should we contact the printer during a campaign?
Contact the printer before design starts, especially if the project includes folding, mailing, binding, special paper, coatings, signage, or multiple versions. Early questions can prevent file rework later.
Can a printer fix file problems for us?
Many print shops can help with certain file adjustments, but the scope depends on the issue and the project. It’s best to ask before assuming a file can be corrected without affecting the schedule.